Understanding JWT authentication
2020-06-02

Contents
In this article, we’ll look at what JSON Web Token is.
We’ll go through a basic explanation of JWT, its structure, and finally, we’ll create a simple server that will take some data and insert it into a JWT.
What is a JSON Web Token and why do we need it?
JSON Web Token (JWT) is a secure, compact and self-contained way to transmit information between multiple parties in the form of a JSON object.
Imagine a login in an application, like Tinder. Tinder allows users to log in using their Facebook profile. So when the user selects the option to log in using Facebook, the app contacts the Facebook authentication server with the user’s credentials (username and password).
After the authentication server verifies the user’s credentials, it will create a JWT and send it to the user. The app now gets this JWT and allows the user to access their data.
The structure of JWT
A JSON Web Token consists of three parts separated by a ".". They are:
- Header
- Payload (Token body)
- Signature
Header
The header usually consists of two parts: the type of token and the hashing algorithm being used.
{
   "alg": "HS256",
   "typ": "JWT"
}
Payload
The payload is where the actual information we want to send is stored. Here is a simple payload example. Know that payloads can be much more complicated than this to ensure better security.
{
  "id": 42,
  "name": "Laura Esteves",
  "admin": true
}
Signature
The signature is used to verify that the message was not altered before reaching its destination. This is usually done using private keys.
These three parts are usually encoded in three Base64-URI sequences that are separated by a . between them.
To decode, verify, generate, or simply play with JWTs, check out the JWT.IO Debugger .
Now that we have a basic understanding of what a JWT is, let’s take a look at how to create a simple authentication server that issues a JWT, which we’ll use to access an API.
Starting the project
I wrote a simple API project that I'll use here so we can understand how JWT works.
Just clone the project from Github, and run npm install or yarn install depending on the package manager you’re using.
You’ll notice that inside index.js there’s all the code for the server to work, with our routes. You can use
VSCode
to open the project.
Required libraries
import cors from 'cors'
import express from 'express'
import jwt from 'jsonwebtoken'
import expressjwt from 'express-jwt'
import bodyParser from 'body-parser'
express is the library that will create our web server, express-jwt, body-parser and cors are like plugins for express, that help with JWT generation, JSON parsing and CORS. jsonwebtoken is a lib that makes it easier to verify a JWT’s signature.
I also created a file called users.js that contains the fictitious users & passwords of our system. Instead of using a database and encrypting the password, this is the simplest way to show JWT functionality.
import users from './users.js'
Setting up the server and JWT validator
In the next lines, I instantiate the server that will have the routes we’ll use and I use the library shown above to inject into express and validate authentication.
const app = express()
const SECRET = 'Sup3rS3cr3t'
const isAuthenticated = expressjwt({ secret: SECRET })
The SECRET constant is used as our secret when encrypting and decrypting our authentication token. Normally an RSA private key is used but to keep our example simple and focused on JWT, we’ll just use a string.
app.use(cors())
app.use(bodyParser.json())
app.set('port', process.env.PORT || 3000)
I add cors to our server, which
will be useful for accessing the API from another domain
where the frontend might be. bodyParser is used to parse the request body and the set port on the app is used to set the port (either via a PORT environment variable or with the default 3000).
Application routes
GETs
// Routes
app.get('/', (req, res) => res.status(200).send(`Hello world`))
app.get('/public', (req, res) =>
res.status(200).send('Everyone can see this!')
)
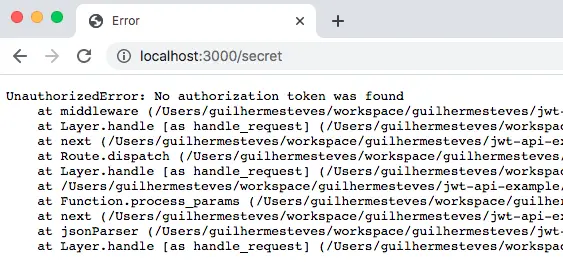
app.get('/secret', isAuthenticated, (req, res) =>
res.status(200).send('Only logged in people can see me')
)
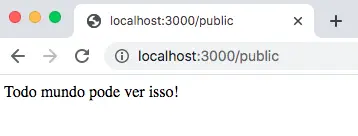
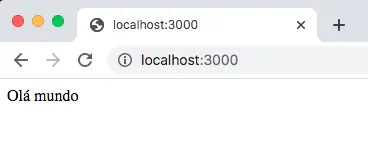
We have 2 public routes / and /public that when called, return their respective texts and /secret which we’ll use to understand the role of JWT, since we can’t call it if we’re not logged in.
The /secret route when called via browser will produce an error because we’re not logged in.
Using postman to authenticate
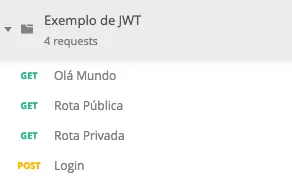
The Exemplo_de_JWT.postman_collection.json file inside the project will be used to import into postman and make calls to the server using JWT.
Now that we’ve created a simple server that can handle GET and POST requests, let’s create a simple JWT issuer. The previously declared users.js file contains the users along with their passwords, as shown below:
export default [
  { id: 1, username: 'clarkKent', password: 'superman' },
  { id: 2, username: 'bruceWayne', password: 'batman' },
]
Now let’s write the /login route. First we’ll check if the sent request contains a username and password. If not, the server should respond with a 400 status. Then we’ll search our users to try to find one that matches the registered username and password. If the username and password are not correct, we’ll return a 401, which means unauthorized.
If everything is fine and the user has authenticated, we’ll create a valid token for them and return it. Note that the SECRET is used to sign the token.
app.post('/login', (req, res) => {
const { username, password } = req.body || {}
if (!username || !password) {
return res
.status(400)
.send('Error. Enter the correct username and password')
}
const user = users.find((u) => {
return u.username === username && u.password === password
})
if (!user) {
return res.sendStatus(401)
}
const token = jwt.sign(
{
id: user.id,
username: user.username,
},
SECRET,
{ expiresIn: '1 hour' }
)
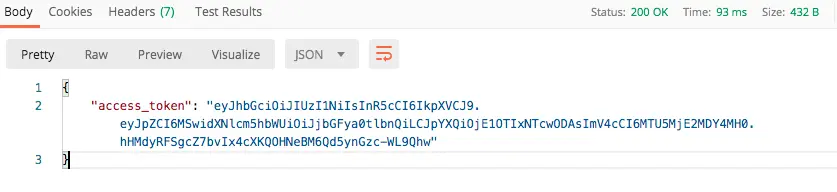
return res.status(200).send({ access_token: token })
})
Now go to Postman and use the following body inside the login call:
{
  "username": "clarkKent",
  "password": "superman"
}
The response will be a token with a defined validity and the information we previously set:
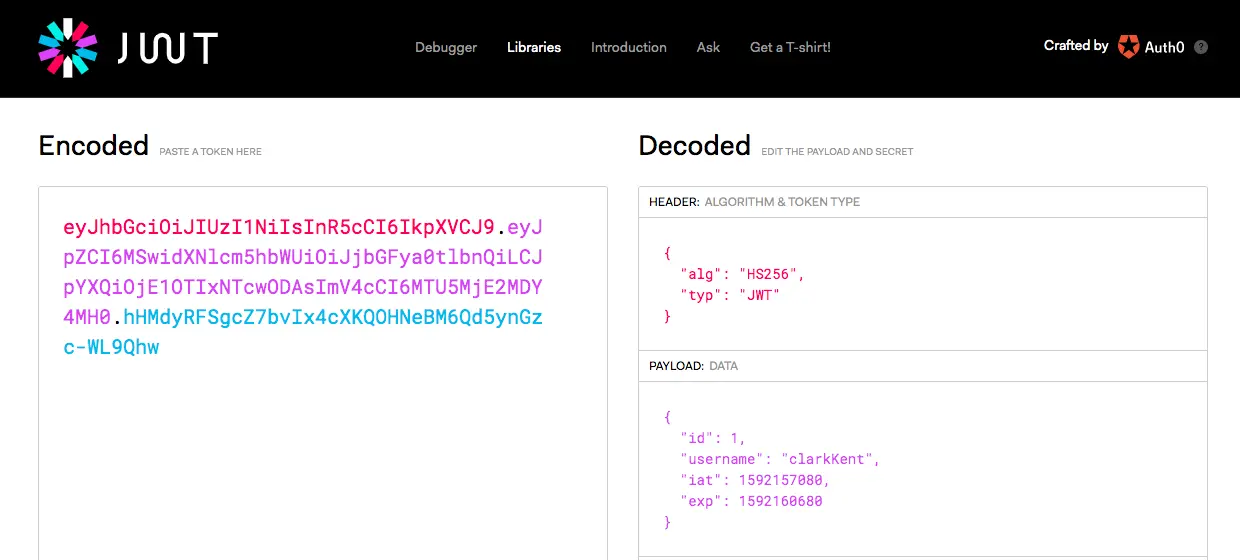
By copying the token from access_token and pasting it into jwt.io
we get the following result:
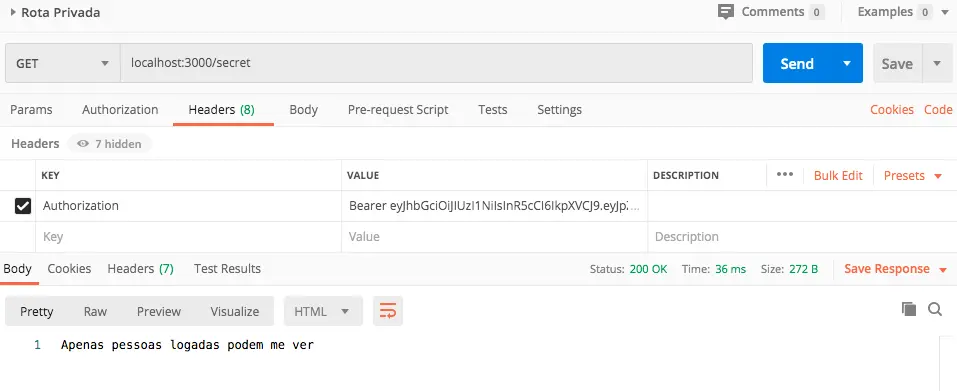
Remember that the /secret route was giving an error? Well, now let’s go to postman, in the Headers section and add a new header called Authorization with the Bearer prefix and the token:
Conclusion
Compared to other web tokens like SWTs (Simple Web Tokens) or SAML (Security Assertion Markup Language), JWT is much simpler because it’s based on JSON, which is easier to understand than XML. If we encode the JSON, it will be even smaller in size than SAML, making it easier to transmit in HTML and HTTP environments.
In terms of security, SWTs use a single key, while JWT and SAML use a public and private key pair for better authentication. From a usage standpoint, JWTs are used at internet scale. This means it’s easier to process on user devices, whether laptops or phones.
Beyond authentication, JSON Web Token is an excellent and secure way to transmit data between multiple parties. The fact that JWTs have signatures makes it easy to identify all information senders. All you need is the correct key.
Thank you for reading this far, I hope this article was useful to you.
Latest Articles


The human interaction in emojis
2020-06-09

Leading small teams
2020-06-04